JeeH example projects
blink/
This is a minimal self-contained PlatformIO project. It's not meant as starting point for "real" projects, but shows how little code and configuration is needed to blink an LED.
f412-disco/
These examples are for the STM32F412ZG Discovery
(PDF) board.
This board has a variety of built-in peripherals, showing
JeeH's features and driver support.
All settings are configured in
the platformio.ini file, with code generated in defs.hpp:
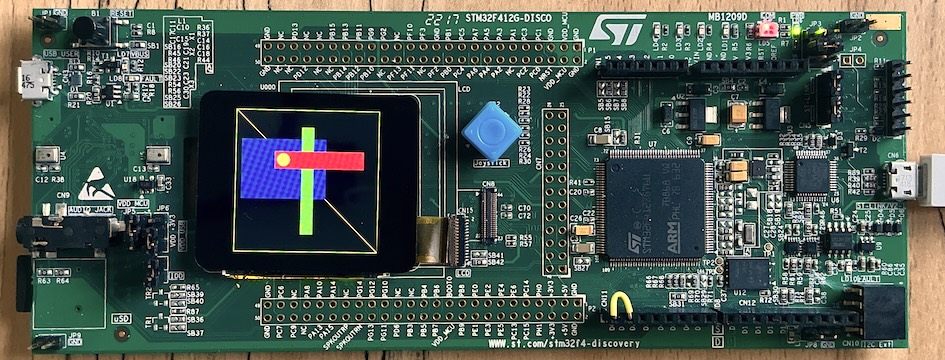
blink.cpp: the ubiquitous blinking LED demojoy.cpp: joystick demo, each direction is tied to an LEDmulti.cpp: blink multiple LEDs with a task and some timersexti.cpp: respond to joystick using interrupts and eventspwm.cpp: blink an LED using hardware timer in PWM modehello.cpp: send greetings to the serial console via ST-Linki2c.cpp: list all I2C devices connected to the I2C1 busspi.cpp: show ID and size of the on-board SPI flash chiprng.cpp: use the RNG and CRC units to test internal RAMlcd.cpp: draw some graphics on the built-in 240x240 LCD
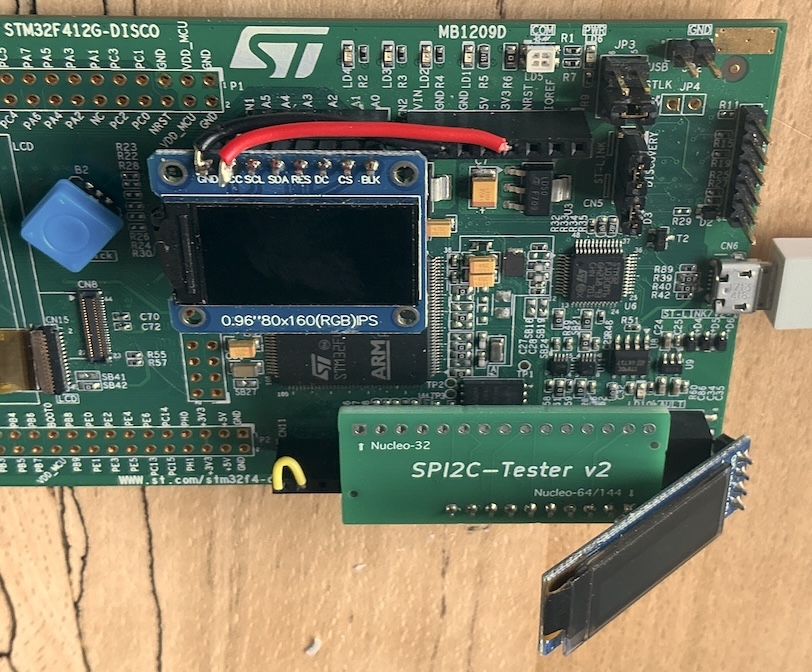
I've also attached some additional devices for more examples:
- The "SPI2C tester" is a custom board with I2C and SPI (F)RAM chips (on the bottom). These are nice for testing, as their results are predictable and verifiable in software.
- An SHT21 temperature/humidity sensor, powered from the GPIO pins.
- An 128x32 OLED display, connected via I2C (bottom right).
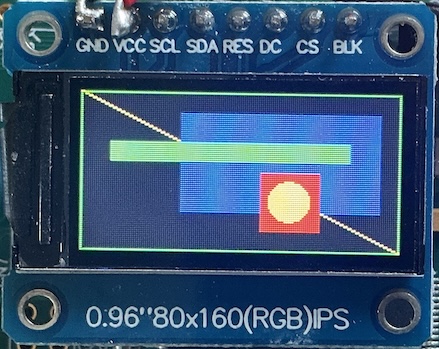
- And a 160x80 LCD module, connected via SPI (top Arduino header).
Example code for these add-ons:
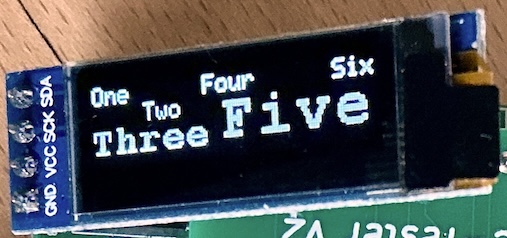
mem.cpp: read/write both "SPI2C" FRAM chips in multple modesoled.cpp: display some text on the 128x32 I2C OLED displaydraw.cpp: draw some graphics on the 160x80 SPI LCD displaysdspi.cpp: read FAT16-formatted µSD card using bit-bang SPIhumi.cpp: power up the SHT21 and read it via bit-banged I2C
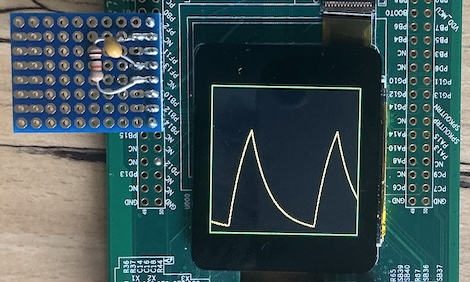
Here's some basic analog signal processing, based on a 10 kΩ + 100 nF low-pass RC filter from PD12 to PC0:
plot.cpp: text plot of RC charge/decay of a 250 Hz PWM signalgraph.cpp: oscilloscope-like display of that same signal on the LCD
g474-weact/
This board illustrates a few debug logging approaches. It uses a Black Magic Probe to connect to WeAct's STM32G474CE board (see AliExpress). Unlike STM's Nucleo and Discovery boards, this target has no on-board hardware support for uploading and debugging. Since it has two single-row headers, the board can be used on a breadboard.
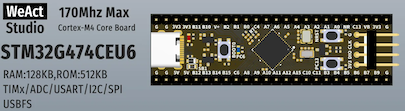
See the uploading page for information about setting up and connecting a BMP to this target device. The G474 examples are:
blink.cpp: not hard to guess, this one ... eh?uart.cpp: set up a UART and send a greeting via the BMPswo.cpp: set up the SWO link and send a greeting via the BMPrtt.cpp: set up RTT and send a greeting via the BMP
Both SWO and RTT do need some additional scripting (pio-swo.py and
pio-rtt.py) to properly configure the BMP via gdb. Each approach has its
own trade-offs, but RTT + BMP appears to be the most convenient setup for
day-to-day use.
See debugging for an example of how to use UART, SWO, or RTT with a BMP connected to this G474 board.